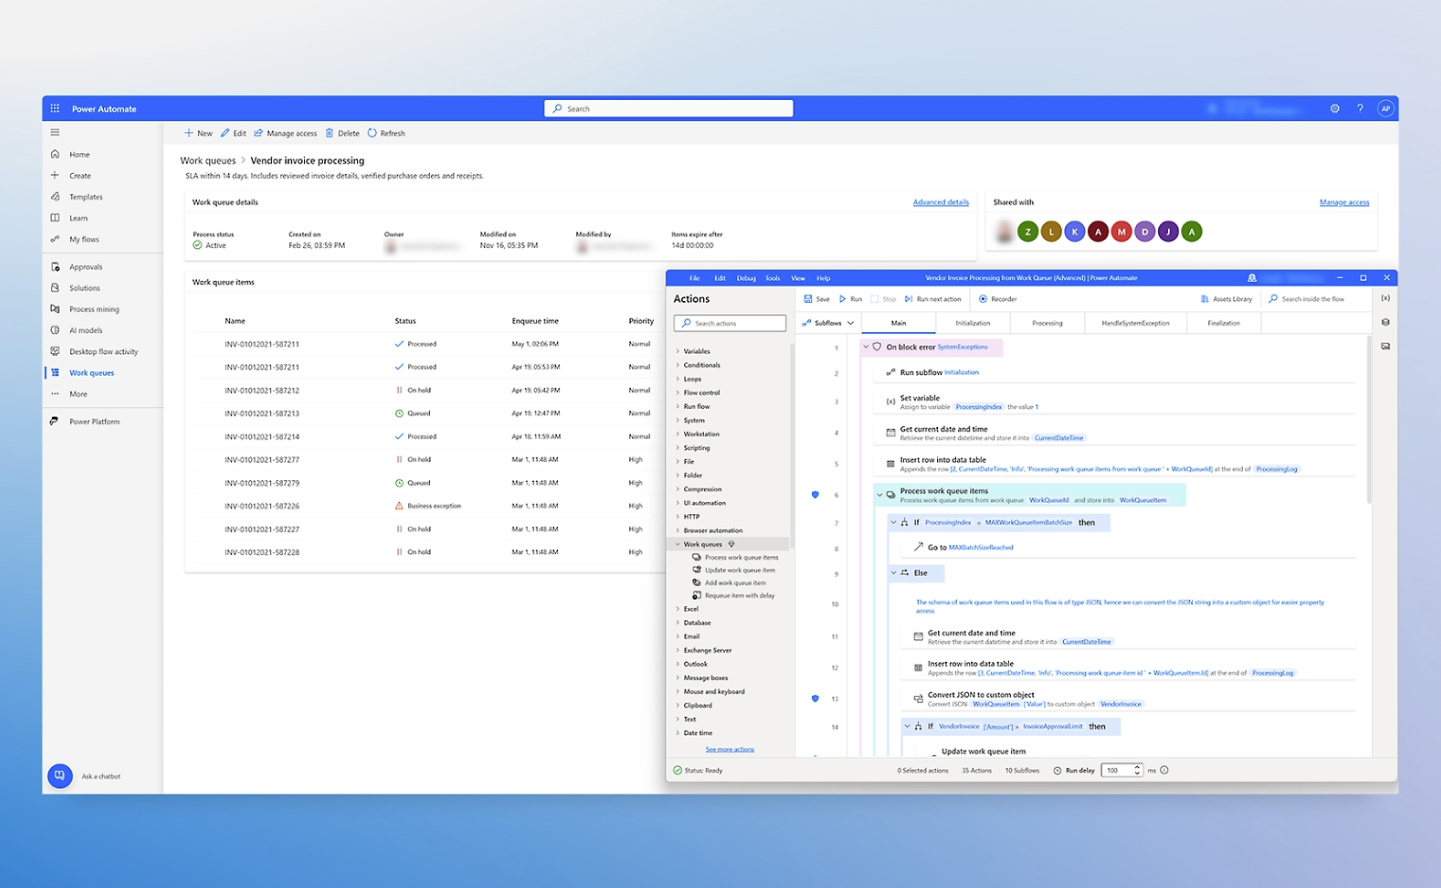
Power Automate is a fantastic tool that allows you to easily connect to systems and data and define workflows/tasks based on the information you send to it. All of this is done using a simple and easy drag and drop editor with a large number of preconfigured and out of the box connectors and steps. From defining a trigger such as an email or new record in a system, to creating a logic-based process where an action is automatically taken, and a decision needs to be made to define the next steps.
Microsoft provides hundreds of connectors to allow Power Automate to connect to as many systems as possible, but sometimes the one you are looking for might not be there. In this article we explain how to build custom connectors for Power Automate.
The REST API
A custom connector is a wrapper around a REST API that allows Power Automate to communicate with that REST API. The first step, then, is to build a public (visible on the public Internet) or private (visible only to your network) API.
If you’re creating and managing a public API, consider using Azure Functions, Azure Web Apps, Azure API Management, or Azure API Apps.
For private APIs, Microsoft offers on-premises data connectivity through an on-premises data gateway.
Microsoft recommends that you set up Azure Active Directory authentication for your API in the Azure portal.
Labelling your API for Power Automate
You can describe your API using an OpenAPI definition (formerly known as a Swagger file) or a Postman collection. While OpenAPI and Postman are different formats, both are language-agnostic, machine-readable documents that describe your API. You can generate these documents from various tools based on the language and platform used by your API. You can also describe your API from scratch using the custom connector portal. Power Automate uses OpenAPI to define connectors.
Creating your connector in Power Automate
Now you have your connection set up and labelled you need to add it to Power Automate. The easiest way to do this is within Power Automate using the custom connector wizard. In the navigation pane, select Data > Custom connectors.
There are a few steps involved in this process to define the connector, the data involved and authenticate.
At the end of the process you will have published your connector for use.
Using your connector
Once you have created your connectors in Power Automate, you can now use them in your flow. Your new connector will appear in the options and can be used by simply searching the connector name. depending on how you set up your connector you will normally need to include ID information to validate you have access.
Custom connectors are a simple and easy to use way of extending the wide range of out of the box connectors available from Microsoft. Setting it up does normally require some more technical skills but following the above process and the Microsoft documentation and you should be able to figure it out.
To get help with any element of the Power Platform, explore our range of Power Platform services and training or contact us today. You can also learn more about the Power Platform by downloading our comprehensive guide below.


